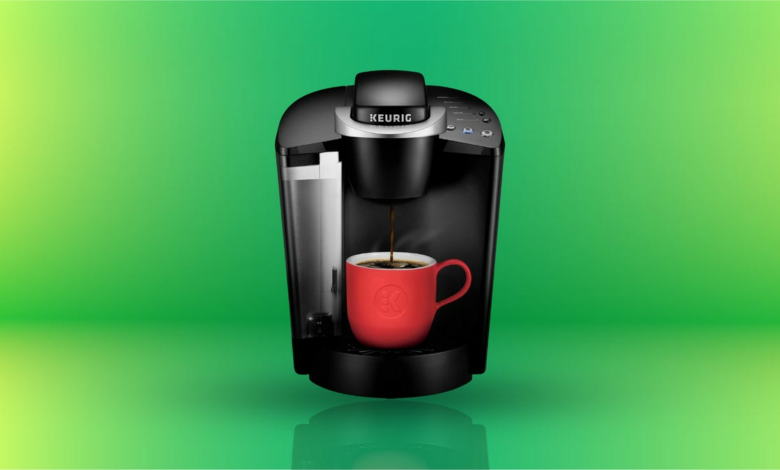
How to Properly Clean Your Keurig Coffee Maker


Keurig coffee makers are a super convenient way to get your caffeine fix in the morning or whenever you want. Some of the “smart” Keurigs even let you brew a cup via an app, so you don’t have to get out of bed until you know there’s a freshly brewed cup of coffee waiting for you. Unfortunately, as much as Keurigs can do for us, most of us probably don’t give them the attention they deserve — when it comes to cleaning.

Your Keurig can get dirty pretty quickly, depending on how often you use it and how often you don’t clean it. For the latter, you really should be cleaning your machine once a week — to keep it running smoothly and to keep your morning cup of coffee tasting as good as it did the first week you had your Keurig. And a good, regular cleaning can prevent mold from forming.
Below we explain how to properly clean your Keurig so that it stays in top condition.
Don’t miss the upcoming Keurig Astra, which lets you use the new 100% plant-based K-Cups, and take advantage of today’s best Keurig deals.
Before you clean your Keurig
Before you start cleaning your Keurig, make sure there are no used pods left in the pod holder of the machine. Leaving your K-Cups out for days before removing them can encourage mold growth. And where do you think that mold ends up? That’s right, your favorite coffee mug. Remove your K-Cups after they’ve cooled slightly from your brew.
Also, make sure to unplug your Keurig before cleaning. This will make it easier to turn it around and move it if necessary while you’re cleaning it.
Clean the outside of your machine
We’re not talking about a hose here, but give your Keurig a good cleaning on all exterior surfaces to remove any dried coffee residue. Keurig itself suggests clean your machine every day.
Clean the drip tray
Spilled coffee will likely build up in the drip tray, so make sure to empty and clean it regularly. Otherwise, expect mold and odors to build up after weeks of sitting idle. Cleaning the drip tray is quick and easy—dish soap and warm water will do the trick.
Clean the reservoir
While the primary purpose is to hold water, don’t forget about the water reservoir and lid. You can either hand wash it with warm water and dish soap or throw it in the dishwasher. Before you clean it, make sure to remove the water filter at the bottom of the reservoir first; otherwise, you’ve created a new problem for yourself.
Clean the K-Cup holder
This part of your Keurig sees the most action and can be one of the more challenging parts to clean. While it’s best to clean every part of your machine, if you choose to only do one of these steps, it should be this one, by far.
Check the user manual that came with your machine or online to see how to properly remove the holder and how to clean underneath. You can run the holder under hot water to rinse away any coffee grounds, residue, or oil, but it’s also helpful to give it a little wipe down. Also, remember that there’s a sharp needle in this area to pierce the K-Cups, so be careful.
Descale your machine
You probably expected to see this one on this list at some point. Descaling your machine is a necessary task to ensure that your machine works well and continues to do so in the long run.
Given the wide variety of models, activating the descaling mode on your specific coffee maker may be slightly different, but Keurig’s descaling support page should help you find the right combination of buttons.
In general, descaling involves filling your Keurig’s water reservoir with a combination of vinegar and hot water (or Keurig’s own water reservoir). ready-made solution) and let the entire solution run through the machine without a pod in it until you need to add more water. Of course, make sure you have a container large enough to catch the vinegar and water solution as it drains. Let the Keurig sit for a few minutes, then fill the reservoir with water and repeat the brewing process. You would probably benefit from repeating this a few times to avoid a potential vinegar aftertaste.
Fortunately, descaling your machine isn’t a weekly requirement. However, Keurig encourages you to do it every few months.
Time to upgrade your machine? Check out the best Keurig coffee makers.


