iOS 18 is here. Is your iPhone ready? Use this checklist to make sure
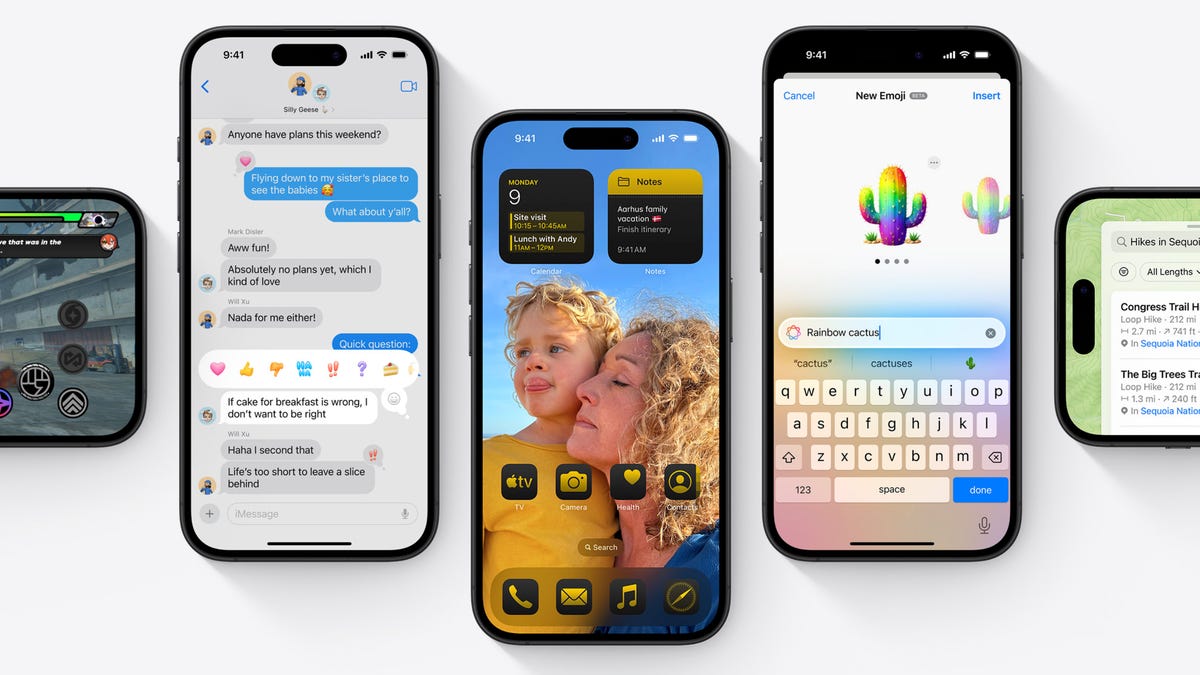

Apple has released iOS 18 This week we have a major iPhone upgrade that adds new features like improvements to text messaging, enhancements to Apple Maps, and the ability to mirror your iPhone from a Mac in macOS Sequoia. iOS 18 also changes the way you interact with things like your home and lock screens, Control Center and how passwords are handled.
That’s a lot! And we haven’t even talked about what’s new in the iPhone 16 and iPhone 16 Prowhich come standard with iOS 18.

For everyone, upgrading to iOS 18 can be a multi-step process. I want to make sure that your adoption of the latest version of your iPhone’s system is as smooth and painless as possible — and that you can back out gracefully in the unlikely event that you need to revert to iOS 17.
If you’re ready to take the plunge, follow the steps below to ensure your iPhone is ready for the upgrade. For more information, here are 9 hidden iOS 18 features you’ll want to know about and why RCS in iOS 18 is such a big deal.
First, check if your iPhone is compatible with iOS 18
Here’s the full list of iPhones that will support Apple’s new software update. And if you’re interested in buying the iPhone 16Here you can read how to order it.

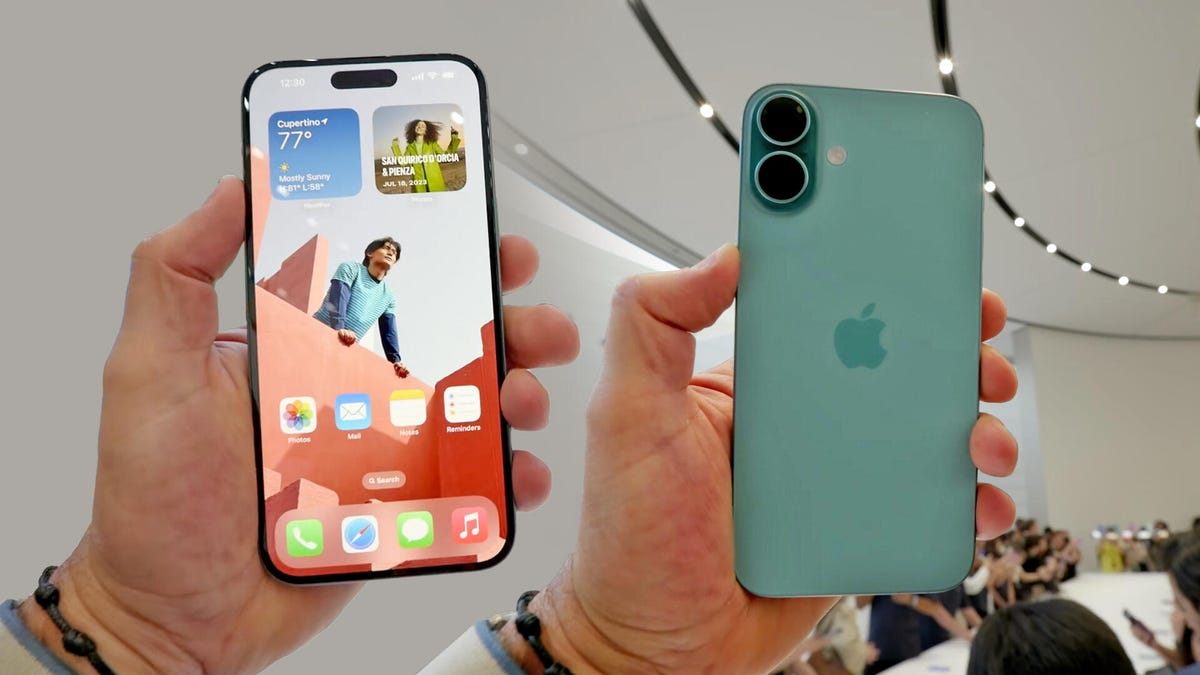
iPhone 16 during Apple’s event to announce new models.
Back up your phone before iOS 18, including creating an archive
You’re probably used to using iCloud Backup to maintain a regular fallback for your data. It runs in the background (when you’re sleeping and charging your device) and requires the least amount of backup friction, as long as you have enough iCloud drive space available. Check out Settings > [your name] > iCloud > iCloud Backup and turn on Back up this iPhone if it is not already active.
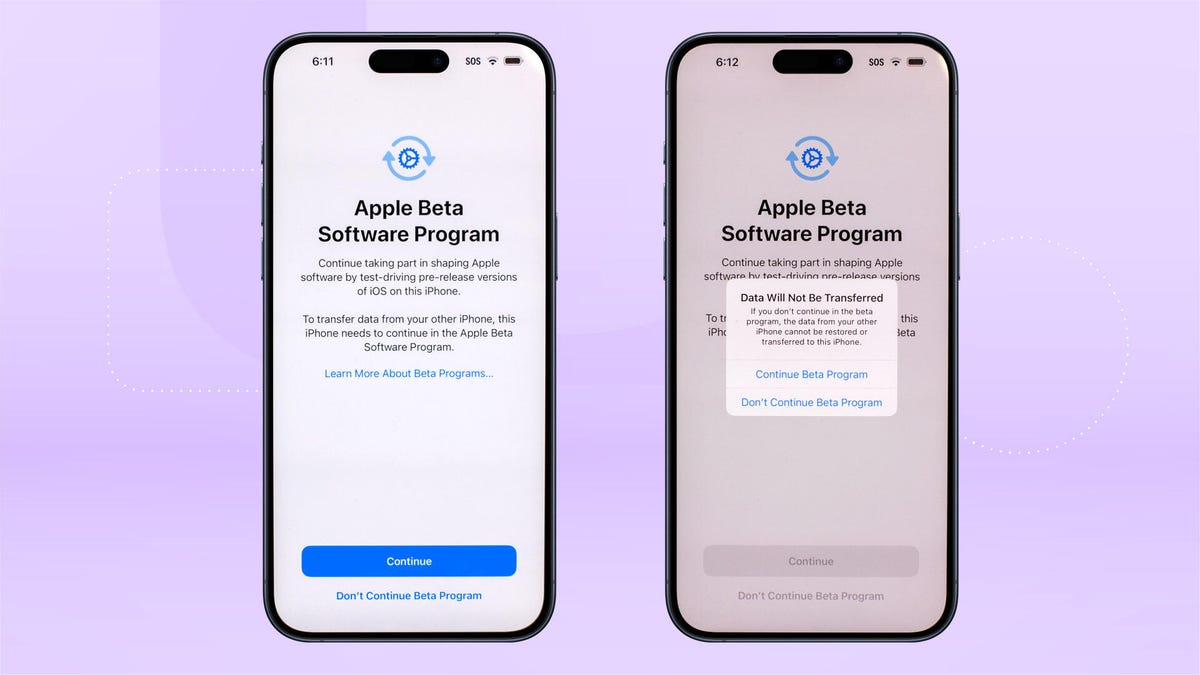
However, when you upgrade to a full version of iOS, like from iOS 17 to iOS 18, an iCloud backup introduces a problem: If you decide after updating to iOS 18 and having it perform an iCloud backup that you need to go back to iOS 17, you can’t restore from that iOS 18 backup. And unfortunately, iCloud only keeps the most recent backup—you can’t choose from previous backup iterations. If you try to use an iOS 18 cloud backup to restore back to iOS 17, you’ll get an error. (Creating an archive is also an important step when installing iOS betas.)
In my experience so far, updating to iOS 18 hasn’t been a problem. But there’s always the chance that something could go wrong — on the iPad, installing iPadOS 18 has even bricked some iPad Pro models with M4 processors.
That is why it is important that you make a backup of your computer.

iOS will warn you if you try to restore from an iCloud backup created in iOS beta.
Do you have the right cable for your iPhone 15 Pro?
Yes, this only applies to the iPhone 15 Pro, but with the right cable you can save a lot of time. The entire iPhone 15 line features USB-C ports in place of the old Lightning port, but the Pro models can also support USB 3 data speeds. Since you’re backing up gigabytes of information, the increased bandwidth of USB 3 will make the process go faster.
However, the cable that came in the iPhone box is really meant for charging and has a much lower USB 2.0 speed. So I recommend getting a USB-C cable that is capable of USB 3.1 (10Gbps) or USB4 (40Gbps, which is overkill for this circumstance, but still affordable).
Should I encrypt the local backup?
Before creating this archived backup, you should decide whether you want to enable any of the options, Encrypt local backup. For security, this feature encrypts the data to prevent anyone with access to your computer from accessing it. This option also backs up sensitive information, such as saved passwords and personal data in the Health and Fitness apps.
The downside is that you have to create a separate password for the backup. If you forget or lose that password, the entire backup is useless. And you have to write that password down or store it somewhere you can easily find it. In the context of creating an iOS 17 backup as a fallback for installing the iOS 18 beta, you’ll have to decide whether that’s an acceptable tradeoff.
How to Create a Local iPhone Archive on Your Mac
To create this type of backup, all you need is disk space and some patience:
- Connect your iPhone to your Mac.
- Open a new Finder window (choose File > New Finder Windowor press Commando-N).
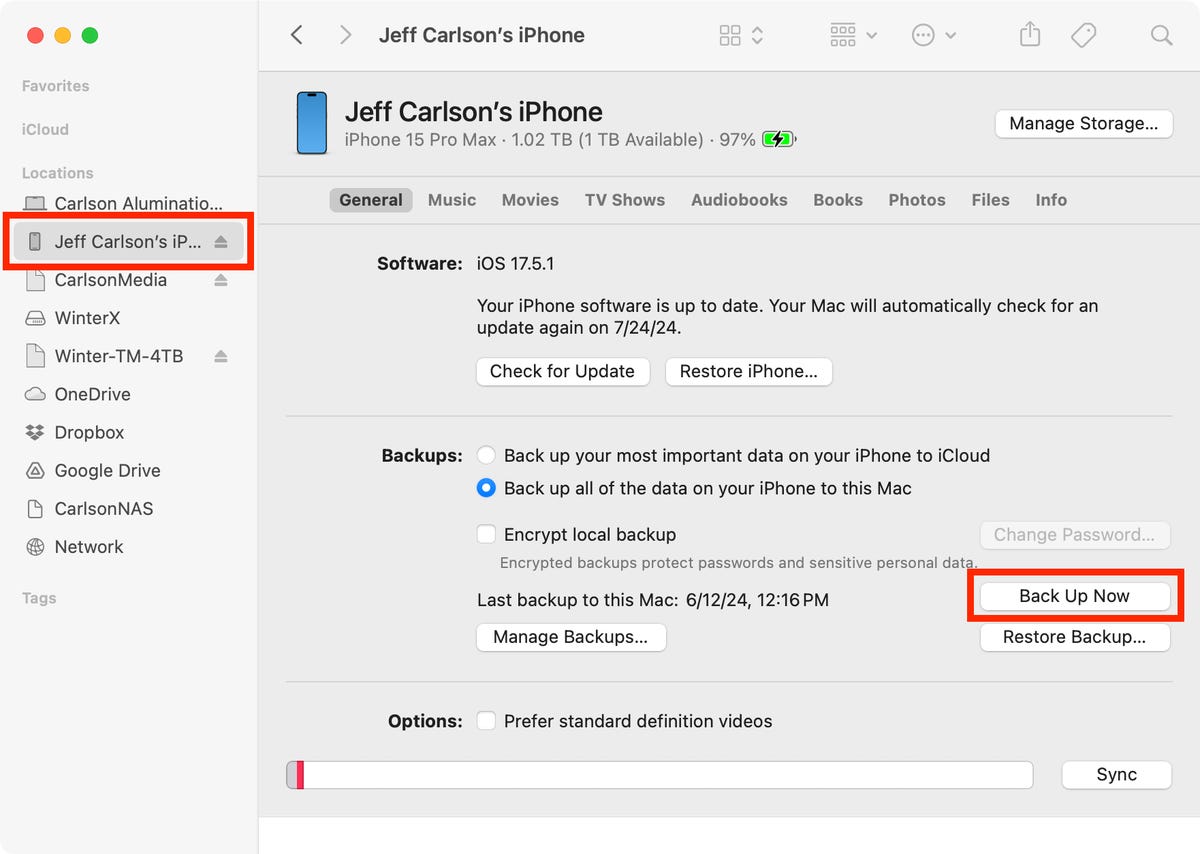
- In the sidebar on the left, select your iPhone under Locations.
- If you want to encrypt the data, click the Encrypt local backup checkbox and set a password.
- Click on the General tab Make a backup now.
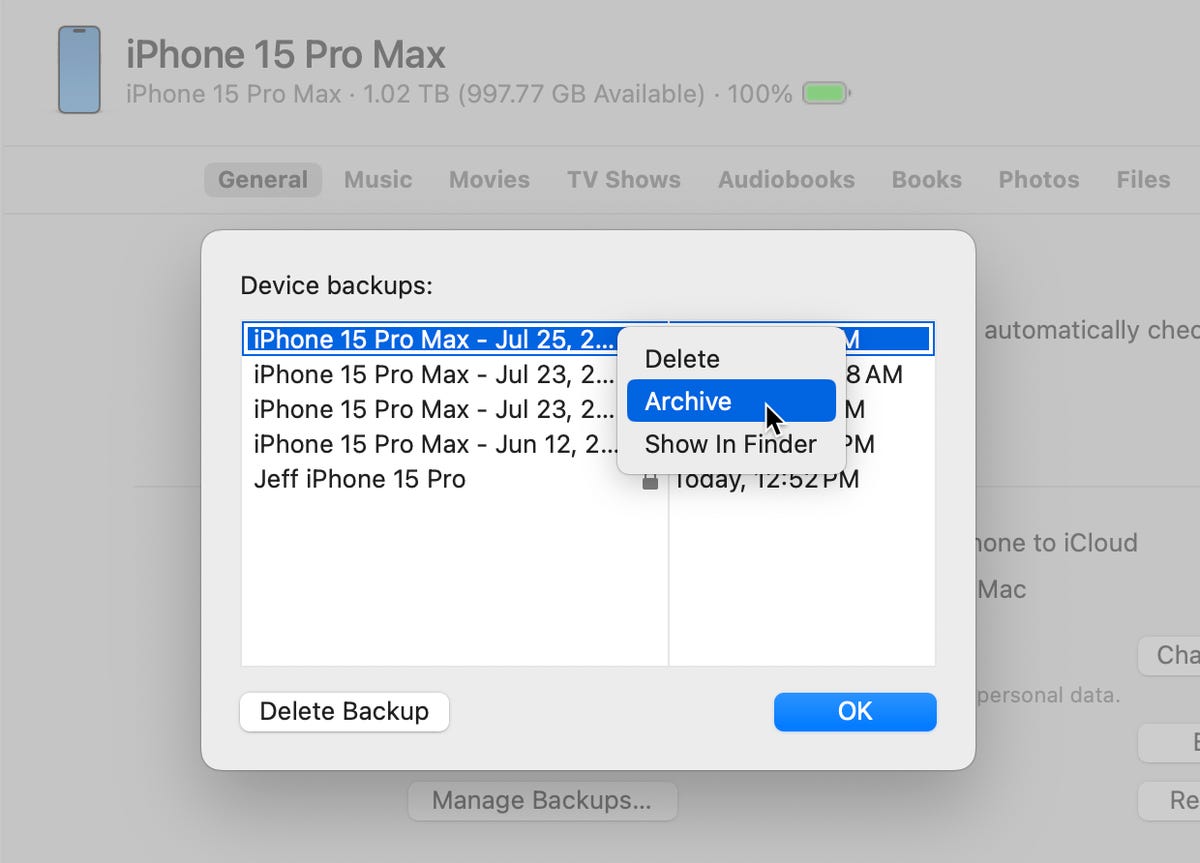
- Click Manage Backups.
- Right-click (or Control-click) the backup you created and choose Archive.

Create an archive backup of a connected iPhone to the computer (MacOS shown here).
Marking the backup as an archive prevents it from being overwritten by the next local backup or automatically deleted if your Mac runs out of space.

Set the backup as archive.
Create a local iPhone archive on Windows
The iTunes app is still the primary way to work with a connected iPhone on Windows. Open iTunes and do the following:
- Connect your iPhone to your Windows computer.
- In iTunes, click on the iPhone button at the top left.
- Click Summary.
- If you want to encrypt the data, click the Encrypt local backup option and set a password.
- Click Make a backup now.
- Click Manage Backups.
- Right click on the backup you made and choose ArchiveThis extra step prevents the backup from being overwritten by the next local backup or from being automatically deleted if the computer runs out of space.
With an archive in order, you can use the iOS 18 beta safely, knowing that you can quickly get your iPhone back into service if something comes up that warrants a return to iOS 17.
Make sure your iPhone is otherwise up to date
Before updating to iOS 18, make sure your device is running the latest version of iOS 17. To check for an update, launch Institutionscrane General and then choose Software updateApple released iOS 17.7 just before iOS 18, so that might be the first update available.
It’s a good idea to keep your iPhone up to date anyway, as new software releases typically include important security fixes and other improvements.
Now that your phone is up to date and backed up, you’re ready to download iOS 18. Scroll down and you’ll see Upgrade to iOS 18. Once it is installed, check out some of our favorite hidden iOS 18 features and settings.
Find out what you can do with the iPhone 16’s new camera button and the monthly reminder to clear your iPhone’s cache.

